
Detailed videos explaining how images can be imported and interacted with can be found here...
- Static Scans: https://youtu.be/6WFTVMt-WDo
- Mobile Mapping: https://youtu.be/cSVdk0GWeRg
Importing Images
The loading of 360-degree images are supported in the following...
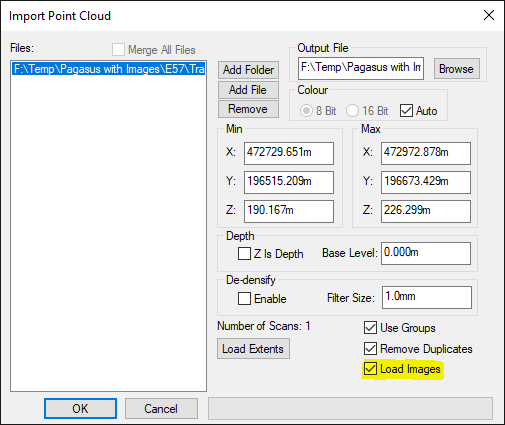
- E57 files - This format supports not only scan data but also the imagery embedded within the file. If Imagery is available in a selected file the Load Images check box will become active. Upon import, the images will be extracted from the file and placed in a dedicated Images folder off of the main root folder created to store the imported data.
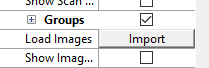
- Individual Images and a Mapping file - This mode is more common with mobile mapping, where there are so many images, that it makes more sense to store them separately. The mapping file is usually a CSV of sorts that contains the names of the images, the position they were recorded at, and some kind of 3d rotation information that describes how each image needs to be aligned. To attach an existing image folder and CSV to an imported point cloud, use the Load Images button under the Groups section in the current point clouds property pane.
Having pressed Import, the following dialog will appear. Currently, Topcon and Leica Mobile Mapping formats are supported. More will follow. Click the Topcon CSV or Leica CSV button accordingly and select the appropriate CSV file. Clicking an individual file in the list should then display its position and rotation information if it's been successfully understood. If you know the type of image is anything other than Spherical, change its mode, but otherwise just press Ok.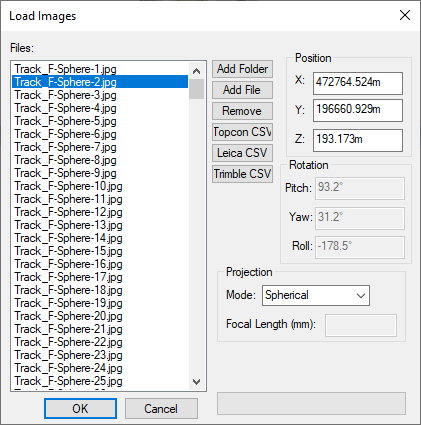
Depending on the manufacturer the Image rotation mode will change to suit that of the imported data. This is because each has slightly different ways to orientate the images. So this is required so that the images line up correctly with the scan data.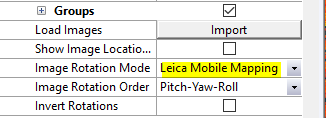
Working with images.
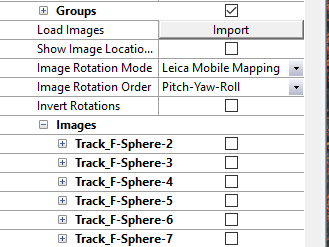
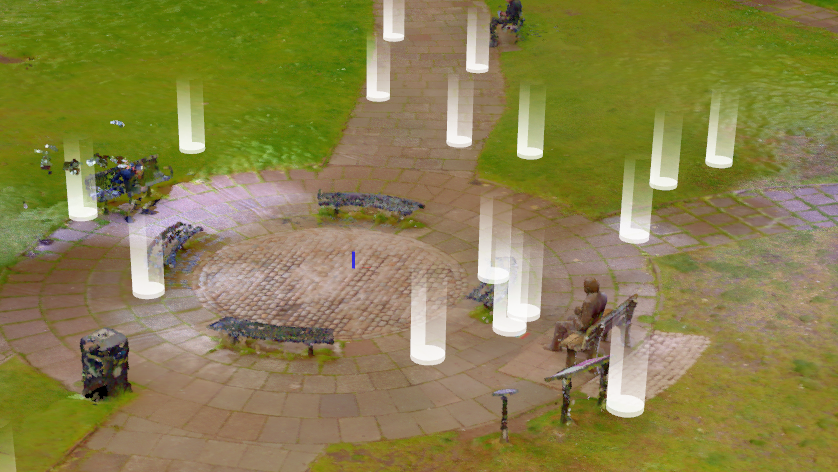
The images will be listed in the point clouds property pane under the Groups section. To activate the image view for a given image, just click in the check box for it. Or enable Show Images, and up lighters will appear at each image location. Simply click on any of these to jump into that image.
Note that each image is expandable in the properties pane so that it can also be hidden, or renamed to something more useful than the name it is originally given.

When in an image view, controls on the far right allow the Point cloud to be made visible or not, as well as any 3d model files loaded. To exit out of the view click the red cross at the top of the screen, or use the arrows to move back and forth through the images in the order, they are recorded.

Comments
0 comments
Please sign in to leave a comment.